
Do your prints constantly fail?
Does slicing feel too complicated?
Stop wasting filament, learn how to easily slice and print any model!
Hey fellow Factory Owner!
I’m Sascha, creator of the Small Batch Factory. More and more people own a 3D printer these days, but don't use its full potential. If you never sliced a 3D model it can certainly feel like black magic and chances are you do too.
If you want to slice your own printable files, but feel overwhelmed by the almost infinite combination of settings, you’re in for a treat today.

The problem is getting started
With a bit of experience it really only takes a few minutes to slice a model. But it's pretty overwhelming to get started. Plus failed prints always feel like watching money burn
Because of that more and more 3D printer owners stick with pre-sliced models. This comes with a number of issues though. First of all, not all models are available pre-sliced. Print files are machine and material specific.
You also have no control over how a model is sliced, be it the strength of the part, its print orientation or how much of the print is wasted support material. You might end up with repeatedly failing prints with no clue why it actually fails and no way to fix it.
While slicing isn't rocket science it's also not completely trivial, so it can't just be automated. The computer always needs a human to make a few decisions. Decisions whose reasoning is only known to you.
What's holding you back
I know what you’re thinking, if it’s so easy then why doesn’t everyone do it?
Simple: they don’t know where to start! There's plenty of information online, but it’s completely unstructured.
With an ever growing pool of information it’s becoming harder instead of easier to find the right one. If you lack a basic understanding of what you’re supposed to be doing it’s very hard to search for the right solution.
It’s becoming even worse when tutorials are done with old software versions and different sources contradict each other.
What really helps is reliable information from a single source that is curated into a clearly structured path of action.
With relatable, real world examples, sliced live on camera. Explaining the decision making process along the way for many different models.
What lead me here
I got my first 3D printer in 2018 after a friend showed me how I can repair the broken trunk mechanism of my car myself almost for free.
Back then I knew nothing about 3D printing. So I stuck with ready made print files. Back then there weren't many to begin with. I fondly remember my first print, four large wheels for the bed leveling screws of the printer, a cable protector and a fan duct. All in one file.
The problem was, that print always failed after the first part (they were printed sequentially). By restarting the print again and again I ended up with four wheels, but none of the other parts.
I knew I needed to slice the parts separately, but I had no idea how. My printer didn’t come with software recommendations or profiles.
It took me hours to figure out the basics. The results were slow and mediocre. Getting decent prints took months. Learning the finer points took years of trial and error.
A long journey
I started with Cura, simply because it was the first thing I found. It came with no profiles, just a massive list of settings I didn’t understand.
Lacking any kind of guidance I made some settings and started printing. Watching the printer's behaviour closely for hours. Since I didn't know how to optimize print speed it was also pretty slow.
After changing some settings I printed again, noticing the change in behaviour. All in all this was pretty time consuming. But it also helped me understand the behaviour of the printer and the filament. Plus watching the printer do its thing is still mesmerizing me to this day.
Time to switch
3D printing really stuck with me, but I had a rather cheap machine. I decided to switch to something less tinkery that also came with optimized print profiles already. I didn't need to tinker with the machine anymore, but I still had to make the right slicing choices.
I watched a lot of tutorials and checked the slicers manual many times. I still needed to learn a lot. The simple stuff worked well enough out of the box, but more complicated models or exotic materials still needed manual tweaking.
Repeating failure with ABS filament led me to discover that most default profiles still leave a lot of room for improvement. I dug even deeper into the intricacies of slicer settings.
I discovered common wisdom you find online is sometimes completely wrong, yet everyone repeats it on a daily basis. A journey I'd like to spare you from.
Introducing...
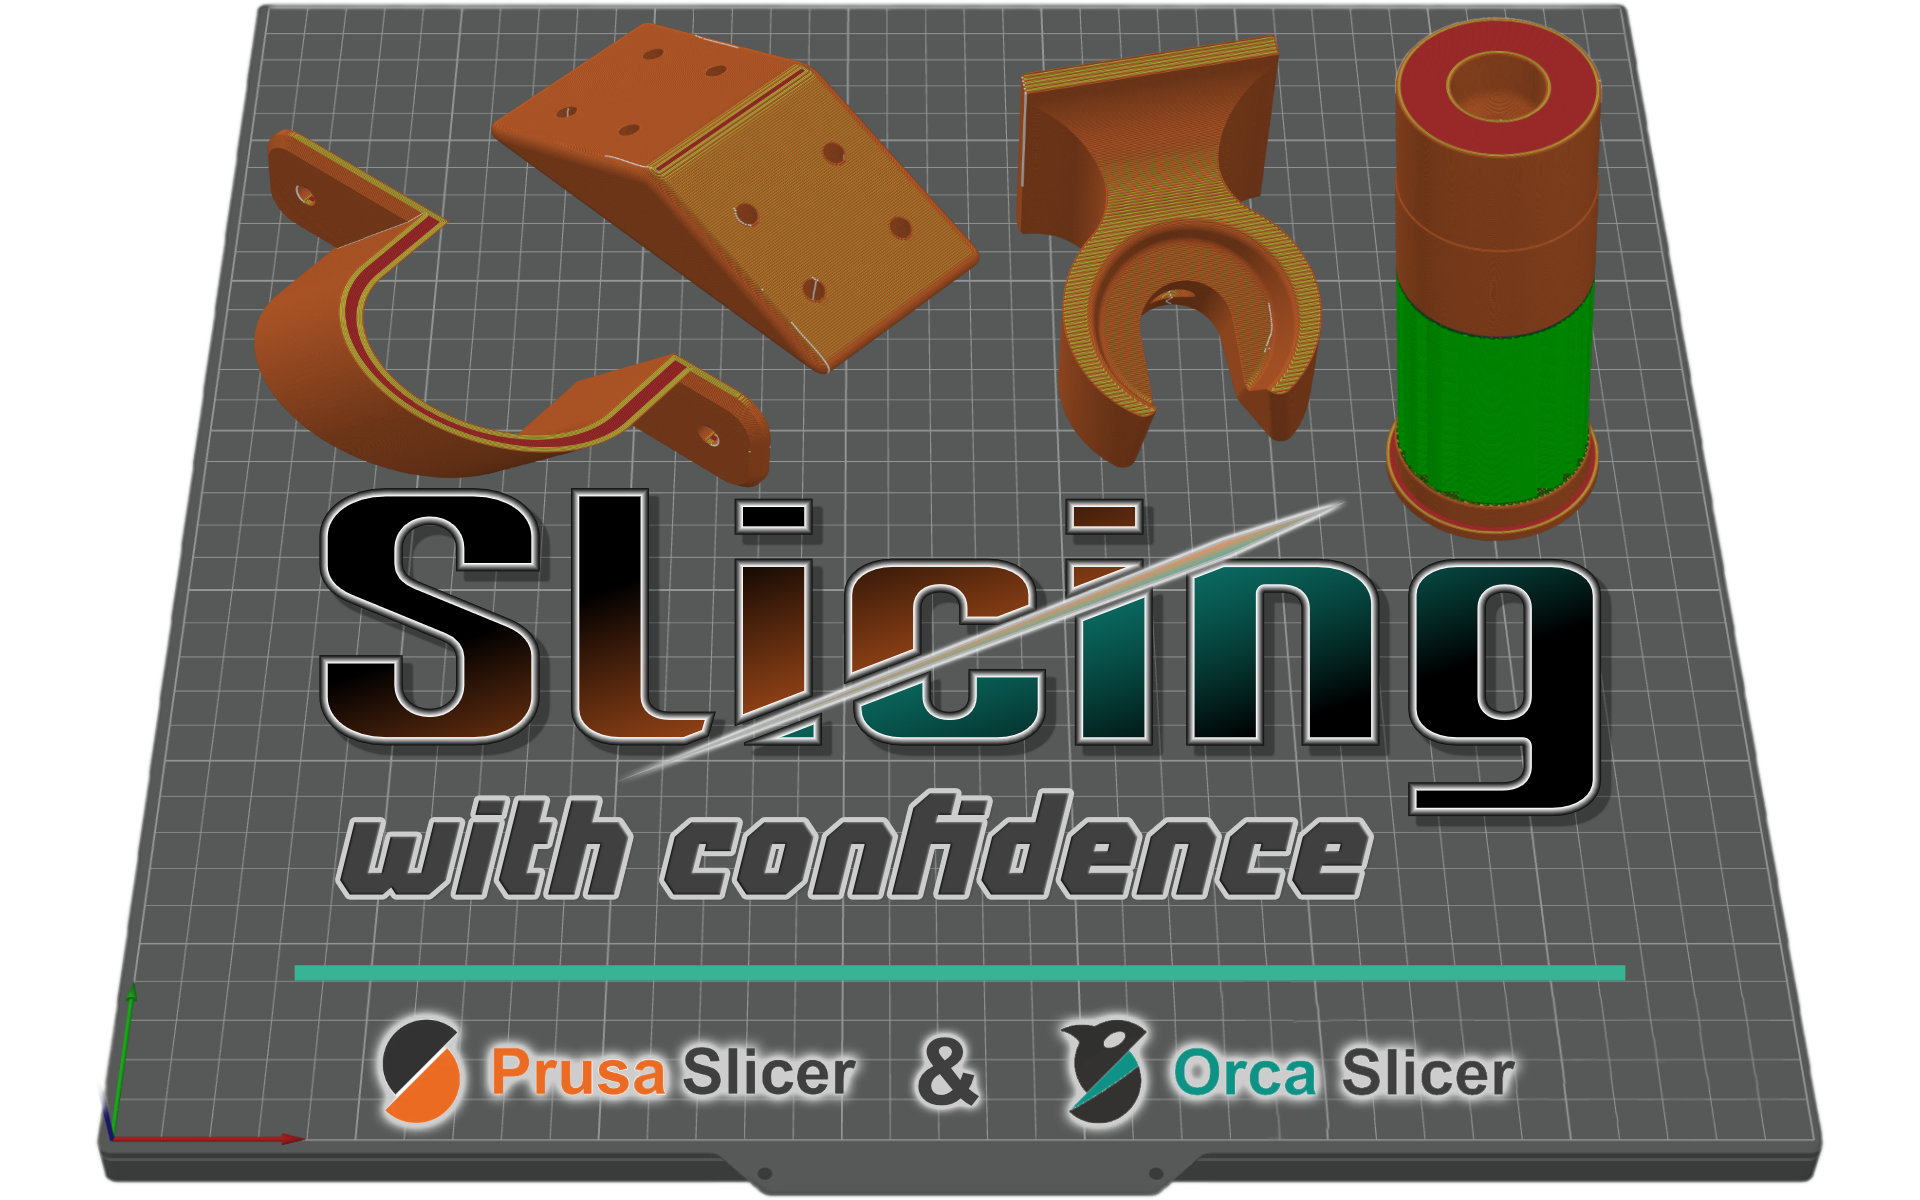
A video course series helping you slice any 3D model, be it very simple or highly complex. Avoid failed prints and wasted filament.
Many instructors never bother to explain the reasoning behind what they are showing. You’re just told to “click here, then click here”. If you’re lucky you get the same result and if not you’re completely lost.
This course is different! You’ll learn the reasoning behind each decision, not just how to follow instructions. By understanding the why, you'll be able to apply what you’ve learned to any 3D model.
Quick and easy
Create your own printable files after just a few short lessons.
Gain solid fundamental understanding
Don’t just learn how to use different settings but also in which situation and why
Waste not, want not
Avoid failing prints and learn how to use as little wasted support material as possible
Never feel overwhelmed
Each lesson focuses on a single concept, so you can build skills step by step.
Plus many uninterrupted live demonstrations from start to finish!
The structure
Module 1 - Introduction
- Why slicing is the most important part of any 3D print
- Navigating the slicer interface so you never get lost
- Key terms explained at a glance
Module 2 - Slicing fundamentals
- The simple method I use to slice any model
- The #1 factor that determines your part's strength
- How I analyze previews to ensure your print turns out great
Module 3 - Beginner slicing
- The go-to settings you'll adjust for nearly every print
- How to get a perfect first layer every time
- Optimizing settings for different filament types
Module 4 - Advanced slicing
- Painting features directly onto your 3D model
- Adjusting settings for different sections of the same part
- My little-known trick to reduce stringing and increase speed
Module 5 - Expert slicing
- Visualizing a sliced model in different ways and what they tell you
- Cooling settings debunked and why most people get them completely wrong
- What really limits print speed (there's more than mm/s)
Module 6 - Model manipulation
- Save material by checking fit before you print
- Print models larger than your printer with ease
-
Add your own personal touch by imprinting text and logos
Slicing with confidence is for YOU if...
- You're tired of poorly printable pre-sliced files
- The models you want to print aren't available pre-sliced
- You're struggling with failed prints and don't know why
- You design your own models and want to print them efficiently with minimal waste
- You're feeling overwhelmed by so many slicer settings
OR
- You finally want to dig into the nitty gritty details of what's possible and unlock your printers full potential
It's NOT for you if...
- You expect slicing to happen fully automated with zero user input
- You don't use Prusa Slicer, Orca Slicer or Bambu Studio
- You don't have any default profiles for your printer to build upon
- You're working with SLA / resin printers. This course is for FDM printing only
You're probably wondering: “How much is this going to cost me?”
Here's a better question: "How much is it costing you to keep guessing?"
A brand name spool of filament can easily cost you $50 or more. Making a trial and error approach quite expensive. Not just in wasted material, but also in time, energy, and frustration.
Every print hour puts wear and tear on your printer, so a failed print doesn't just cost you the price of the filament. Let alone the price of electricity.
Sifting through tons of videos until you find what you need? That's time you'll never get back!
This course is designed to save you time, money and stress. And since I want this course to be accessible to anyone you'll pay a lot less than a typical 3D printer and some filament costs.

And the best thing is: it’s 100% risk free!
I’m giving you a 30 day no questions asked money back guarantee.
If the training doesn’t meet your expectations just let me know and I’ll refund you.
Click the button below and see for yourself, completely risk free.
What if I'm on a budget?
I totally get it, not everyone has cash to spare, especially for things that are as intangible as an online course. If that's you, select one of the budget-friendly options below. While you won't be able to touch the course the things you'll learn to create will be very real and tangible.
The price of missing knowledge adds up in ways you might not even expect:
- Frustration from constantly restarting failed prints
- Time from searching through scattered videos and articles
- Money, either from
- wasted filament, be it failed prints or too much support material
- or
- broken parts due to unfit slicing settings
- Worst case scenario you'll waste time and money when a failed print forms a blob of death on your hotend, leaving your machine unusable
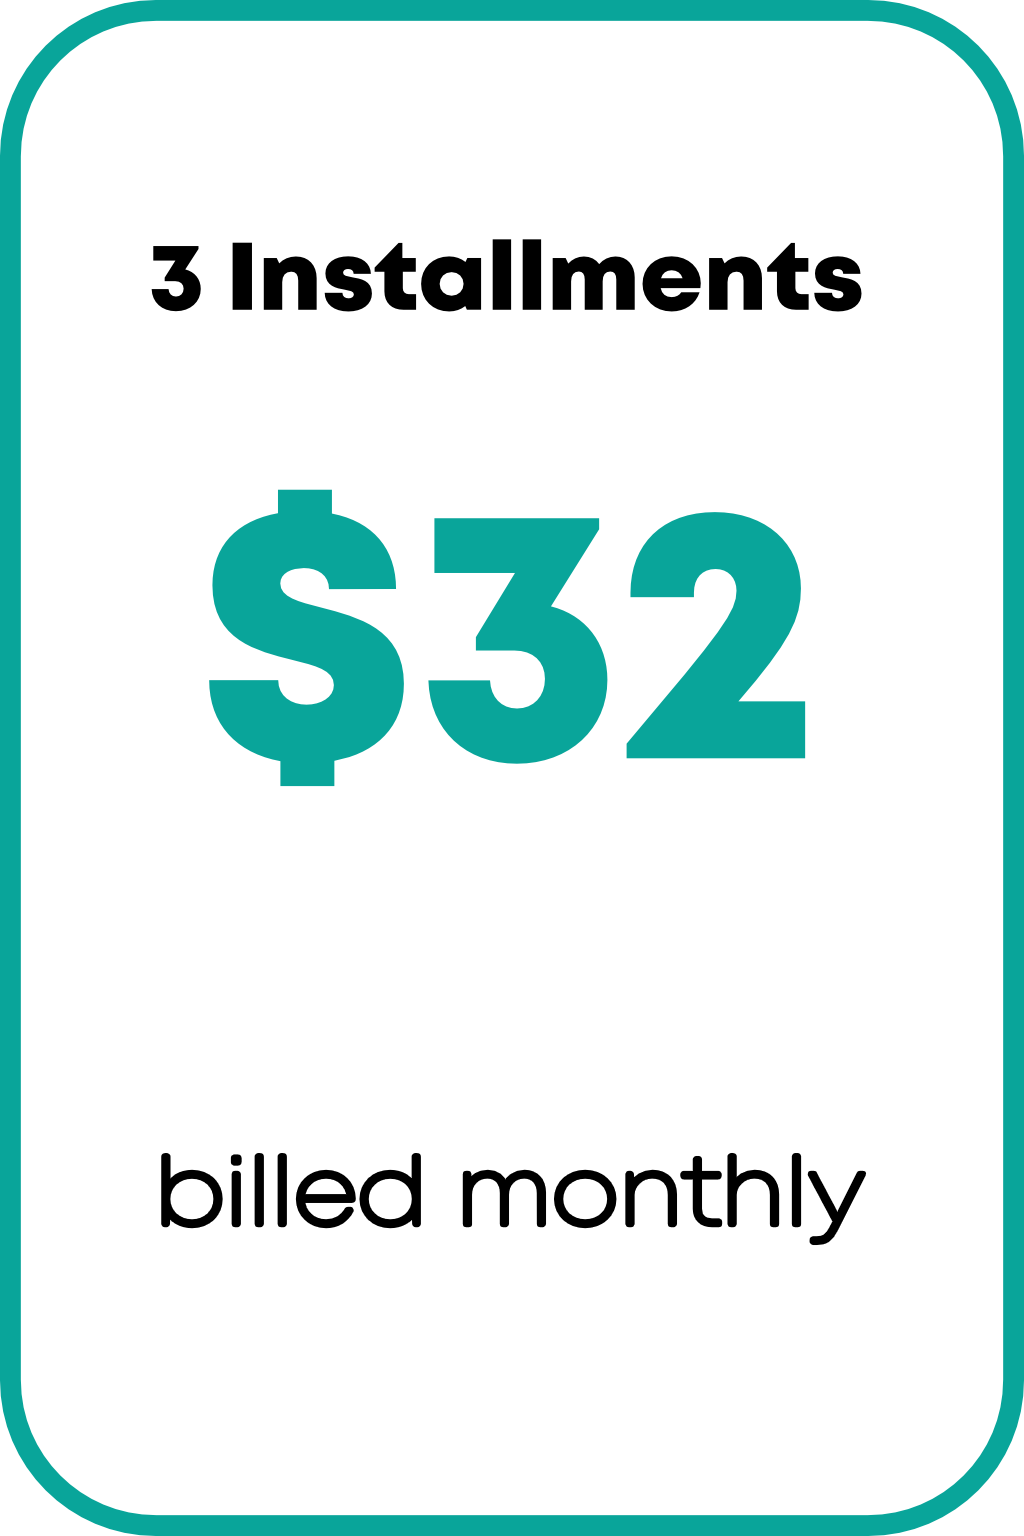
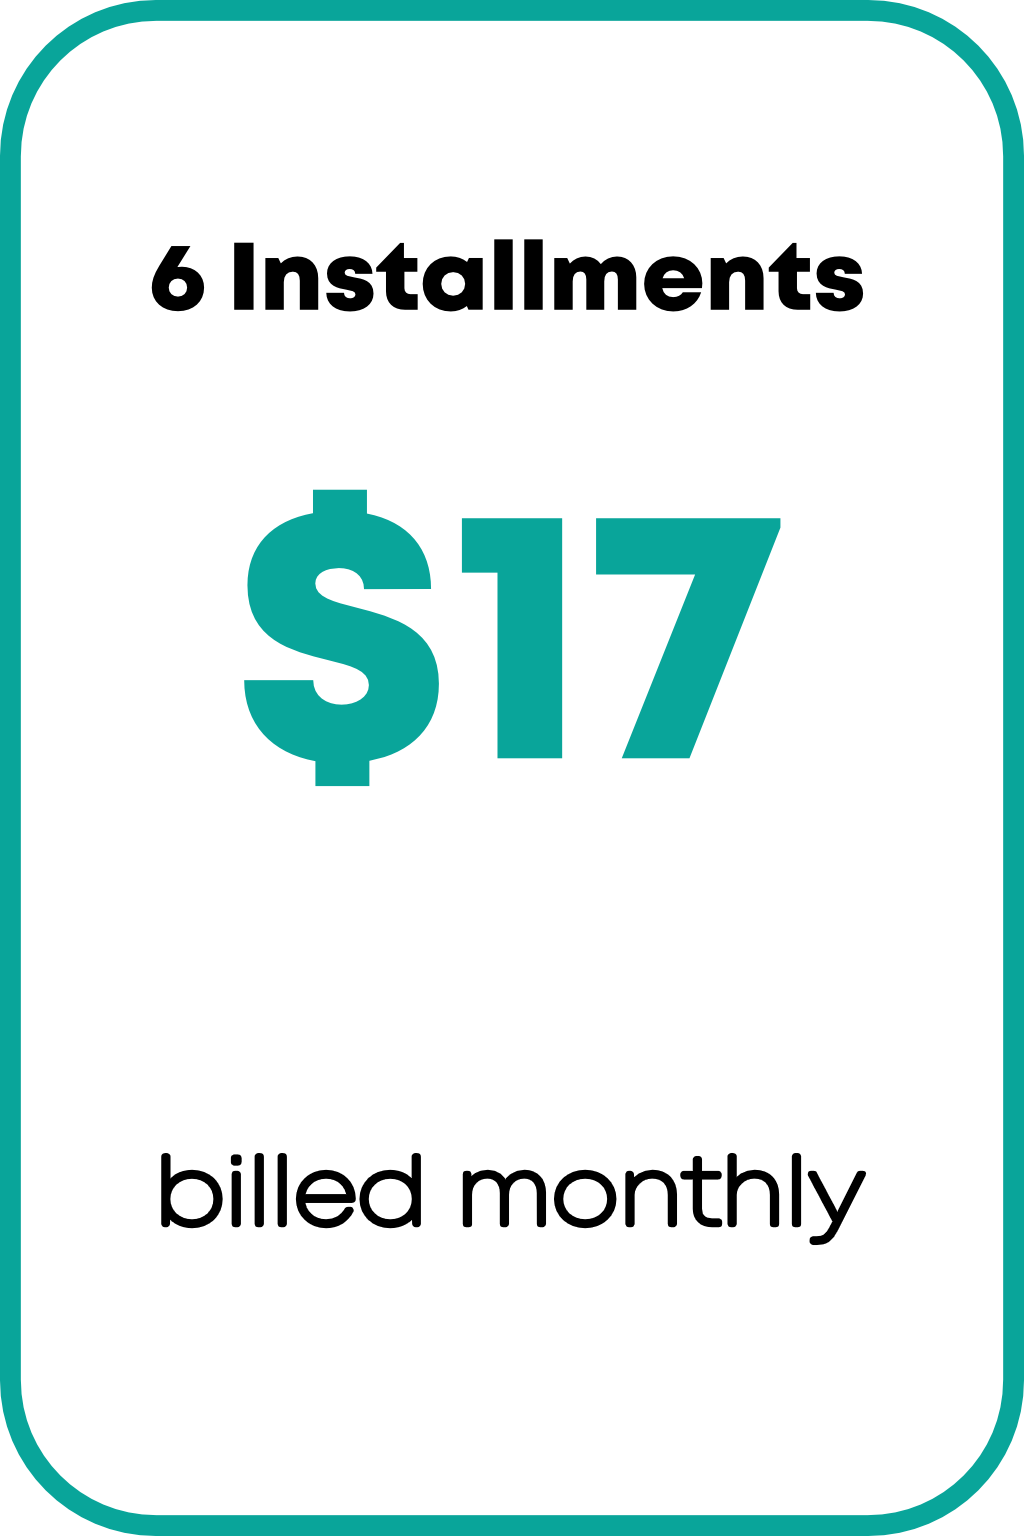
Select a payment plan

Example Curriculum
- Layer height (1:33)
- Perimeters and seam position (1:15)
- Top and bottom layers (0:41)
- Infill and top / bottom patterns (2:08)
- Skirt, brim and elephant foot compensation (2:17)
- Fuzzy skin (1:35)
- Filament settings (temperature and overrides) (1:11)
- Simple support material (2:46)
- Spiral vase printing (1:43)
- Practical demonstrations from start to finish (17:10)
- Variable layer height (2:53)
- The paint feature for Seams, Supports and Fuzzy Skin (7:05)
- Using modifiers and object settings (4:41)
- Better bed adhesion with mouse ears (1:16)
- Ironing (2:05)
- Retraction and travel lift (5:04)
- Adding pause / color change at layer (2:36)
- Infill combination and advanced infill options (2:15)
- Practical demonstrations from start to finish (26:03)
P.S.: I know slicing can seem daunting at first.
I know because I avoided it completely when I got my first printer. Because of that I can promise you can do it too, even with zero experience.
Trying to learn something with no clear guidance is always daunting. That’s why I’m offering you my help. And also because I don’t want your printer to only print some else's ready-made files.
Once you've sliced your first 3D model you’ll wonder why you didn’t start sooner. And in the not so distant future you can’t even explain why you put it off for so long.
Don’t forget it’s risk free. You have a whole month to see if you get the results you expect.
P.P.S.: Of course you can learn this for free online, no doubt about that. You just have to search for it.
But you have to know what to search for. Sit through a few ads. Skip over “please like and subscribe” pleas. Then you have to weed out bad and outdated information.
You can always save some money by trading in your time. The choice is yours.
And in case you value your time as much as I do: See you inside!
Cheers
Sascha